Free background from VintageMadeForYou

Saturday, September 27, 2014

UP, UP AND HAPPY BIRTHDAY

Howdy everyone!  So glad that you decided to take a break and visit.  I have another birthday card to share today.  I've used a file that my good friend Ken who is Kreativeken shared over on the Facebook page for ScrappyDew Creations.  It is a fabulous card in a box file.  I have used it many times and the card has a lot of WOW factor!  

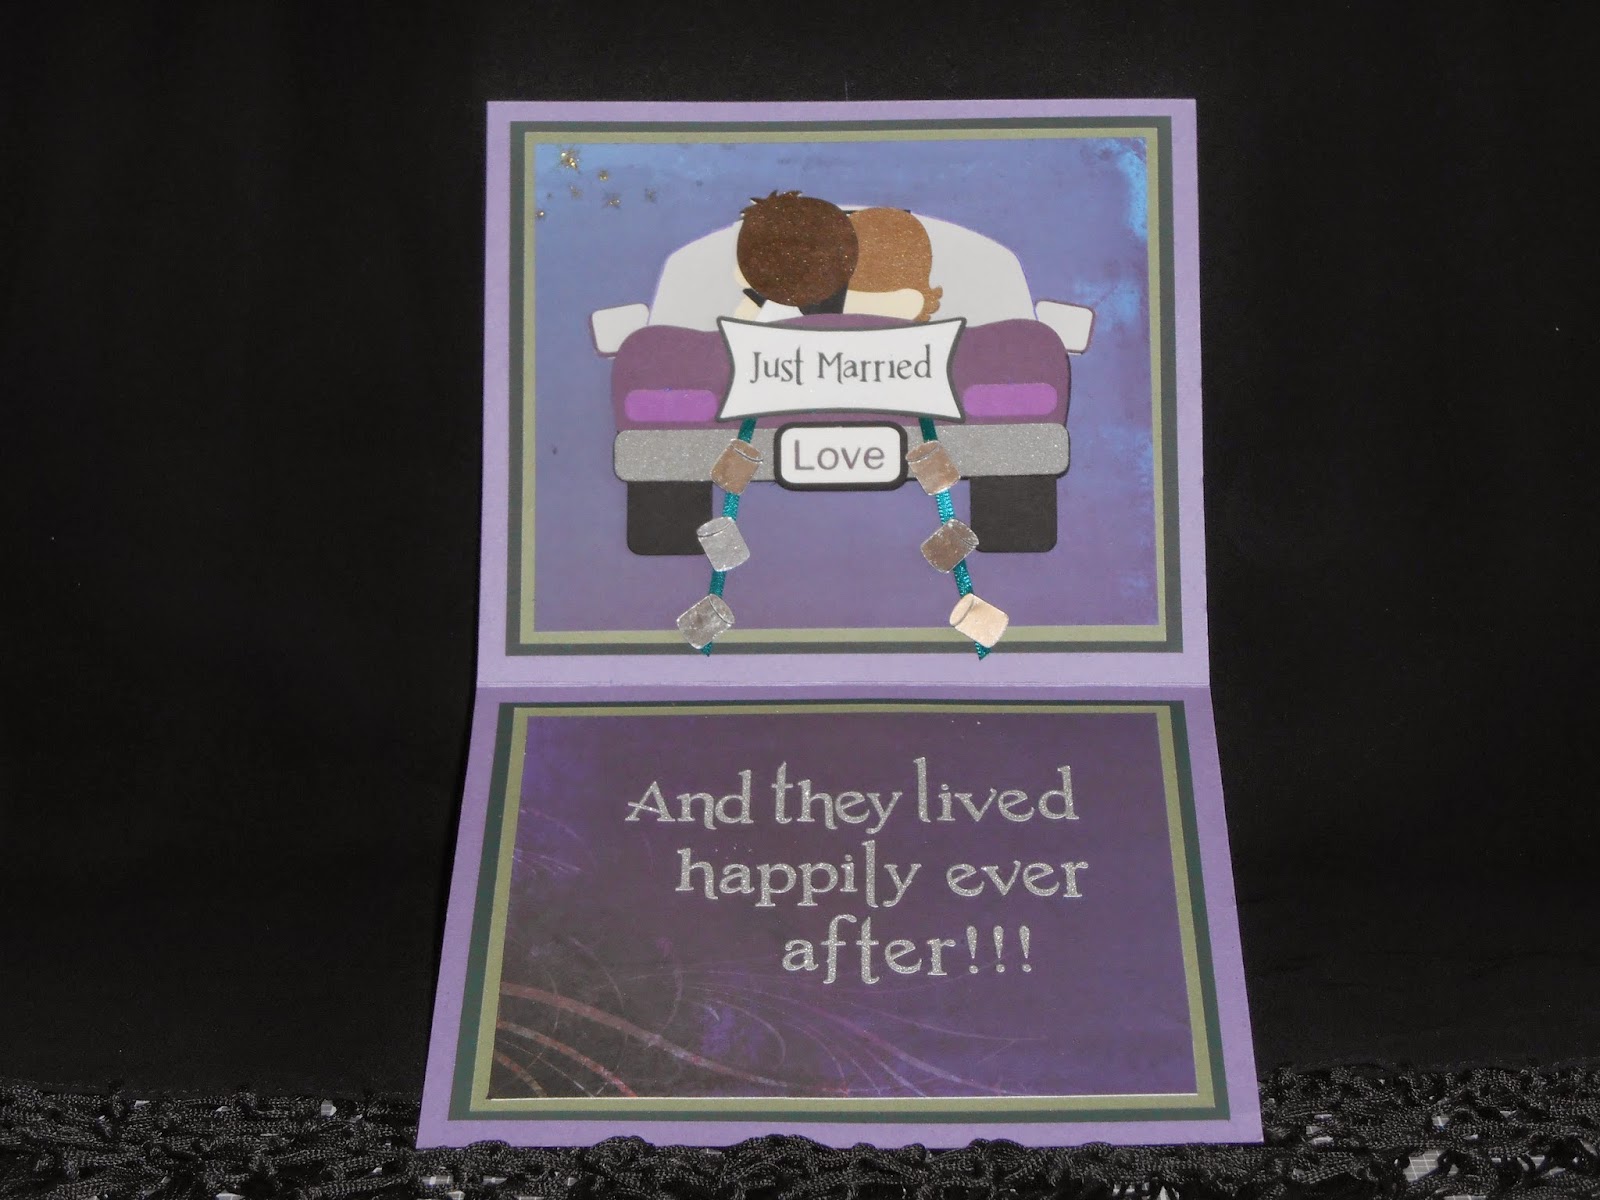
Now for the lyrics~~~
Most of the paper is Recollections
Special paper used is : ColorBok Mirrored Paper, Fresh Linen and Nature
Spring Has Sprung file from ScrappyDew
Hot Air Bears file from ScrappyDew (can be found in the vault/freebies)
ColorBok Limited Edition Hot Air Stickers

So here is the card in a box birthday card

The outside

side view one

side view two

The front of the card
I really like the way the flowers and the grass turned out using the mirrored paper.  I sure hope that she likes her mini doozie also.

Remember you can always email me or contact me on Rhapsody on Paper over in facebook land.  Would love to hear what you think!  Next week will be a couple of projects and a card for my daughters birthday.

Until then, bright blessings, Jana

Friday, September 19, 2014

Happily Ever After!

Let me tell you a story,,,

Back in March, I received a wedding invitation.  Now for me this is not an ordinary wedding invitation.  This is a BIG DRESS UP (wearing panty hose) type of wedding.  It's in the big city in a very prestigious church.  (gosh i feel like a country bumpkin)  So since this invitation is from a very good friend, I accepted.

In the last part of June, I found my dress.  (pics later)  Every once in a while I would get the dress out of the closet and make sure it still looked good on me. (still good there)  It's now 1 week before my daughter and I head out.  I have had the card in my minds eye for a while.  Time to get started.

Here are the lyrics:
I used the Wedding DayRoyalty Palz and Movie Night 2013 files from ScrappyDew.

DCWV Glitter Stack, Graphic45 Le Romantique series, Recollections card stock,
The Paper House Mulberry paper in eggplant and assorted rhinestones and pearls.

Now the weddings colors are eggplant and dark green.  The bride will be carrying a bouquet of fall colors.  (sure helps to have inside info)  The first wedding couple I made, the bride and groom are facing each other.  Groom in all black and bride in white. It looked horrid!!!  I fretted for a few hours and then it dawns on me.  Use the colors of the wedding and play it up big.  So here is the front of the card.  (oh, BTW the card is 7x6")


The groom is wearing the wedding colors and the bride's dress is embossed. The dress was cut out of white card stock.  I had some wide white ribbon and I covered the card stock.  Then used the bug to emboss the entire dress.   Remember those leaves I used for the Halloween doozie, that's what the bouquet is made of.


Here is a close-up of the faces and the bouquet.

Next, I wanted to make something unique and special for the inside of the card.  I don't think that a card is done unless the inside is as special as the outside.  So I decided that I could modify the Movie Night 2013 file.  I used the gallery from Make The Cut for a tag for the just married plaque.  The cans were the cylinder shape from MTC basic shapes.  A little bit of dark green ribbon and my car is complete.


Close up of the car

Now this card needed a very special envelope.  So I dug out my G45 paper and found a couple in an embrace.  It is from the Le Romantique collection.


So this is what I have been doing for the last week.  So tomorrow is the big day.  So you all get a special friday post of the blog.  

I hope to have pics to share of this fantastic event, must make sure to pack my camera!  (just hope that the shoes and my feet last, taking some other shoes just in case)

See ya next Saturday, Bright blessings, Jana


Saturday, September 13, 2014

2nd Annual Halloween Mini Doozie Reveal

Hello everyone.  It's time for the mini doozie reveal!  So excited that you could join me today.  

So last week I revealed this...


She is such a cutie! For all of this mini doozie I have used ScrappyDew's Costume Kidz 2.  There were various papers used.  Mostly Recollections and then I bought a package of fall leaves from Joanns.  The Boo paper is by Hot off the Press and the tag board is by Silhouette.  I had the orange and black nylon net and the 1/4" orange ribbon just handing around in my storage rack.  Gosh what else can I tell you about this doozie....?   Not much I guess.  So my dear friends, HERE IN ALL IT'S GLORY IS THE MINI DOOZIE HALLOWEEN 2014.

The scarecrow is inked around all parts to show definition
What a cute ghost!

Now to show you them all together.

What do you think?


This project is all boxed up and is heading back east.  The package also includes a stunning birthday card for one special lady (will have a post on the card in a couple of weeks).  I have had a blast making this mini doozie.  It's really gotten me in the mood to make my Halloween cards for this year.  


Now next week I will be posting the blog on Friday.  The girls and I are traveling to a very special wedding on Saturday.  It's formal, i'm talking pantyhose ladies.  I have my outfit picked out and taking the girls shopping on Tuesday to get them all gussied up.  May have a few pics to share....just have to keep tuned to Rhapsody on Paper.

So until then, Bright blessings, Jana


Saturday, September 6, 2014

It's DOOZIE time

It's DOOZIE time, It's DOOZIE time!  No, I haven't had a screw come loose.  Welcome to the 2nd annual Halloween DOOZIE post.  I started this last year with decorations I made using ScrappyDew's wonderful Halloween files.  Here is a look at last years reveal!


For this years DOOZIE, I am making a mini doozie.  (not enough hours in the day with all that is on my schedule)  So for part one I have made the Witch from the Costume Kidz 2 file over at ScrappyDew.  After making her, I chose a block font and cut out a giant letter "O".  I made an "O" out of tag board and two types of paper.  Sandwiched them together and this made a sturdy stand.  Next on to decorating.  Some orange and black nylon net and orange ribbon, throw in some fall leaves and I had a decoration for the letter.

Now of course you know that there were a lot more steps and mishaps.  No project can be that simple.  But guess what?  It really was!!!  Without further ado...Mini Doozie part 1.


I just love the paper by Paperwishes.  See the boo's.....hmmmmm.  Next week you can see the big reveal.  This mini doozie is going to someone special and I need to get it in the mail for her birthday!

Have a great week!  Bright blessings, Jana